Shower Grout Repair Services Overview
Visitors can learn about local contractors who specialize in shower grout repair and how to compare their services.
- - Residential property owners seeking professional shower grout repair services to restore the appearance and integrity of their bathrooms.
- - Homeowners looking to connect with local contractors experienced in fixing and sealing shower tile grout.
- - Property managers needing reliable service providers for ongoing shower maintenance and grout restoration projects.
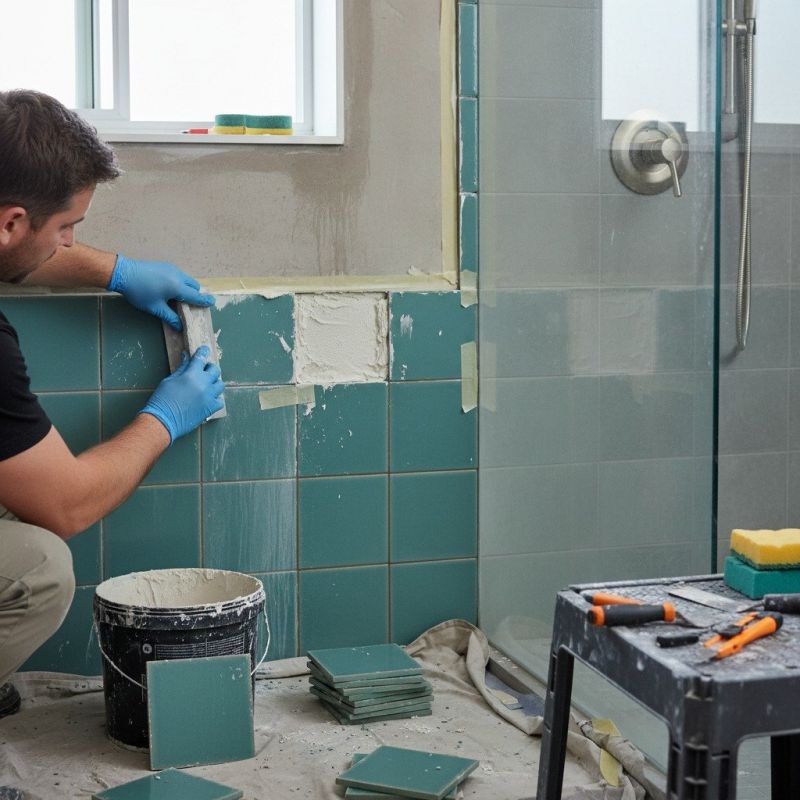
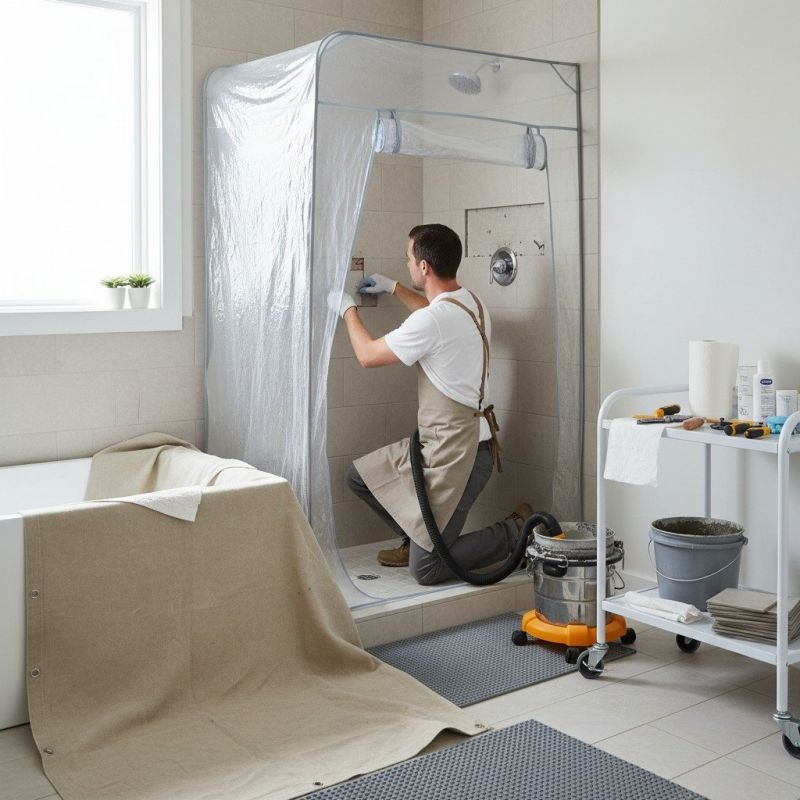

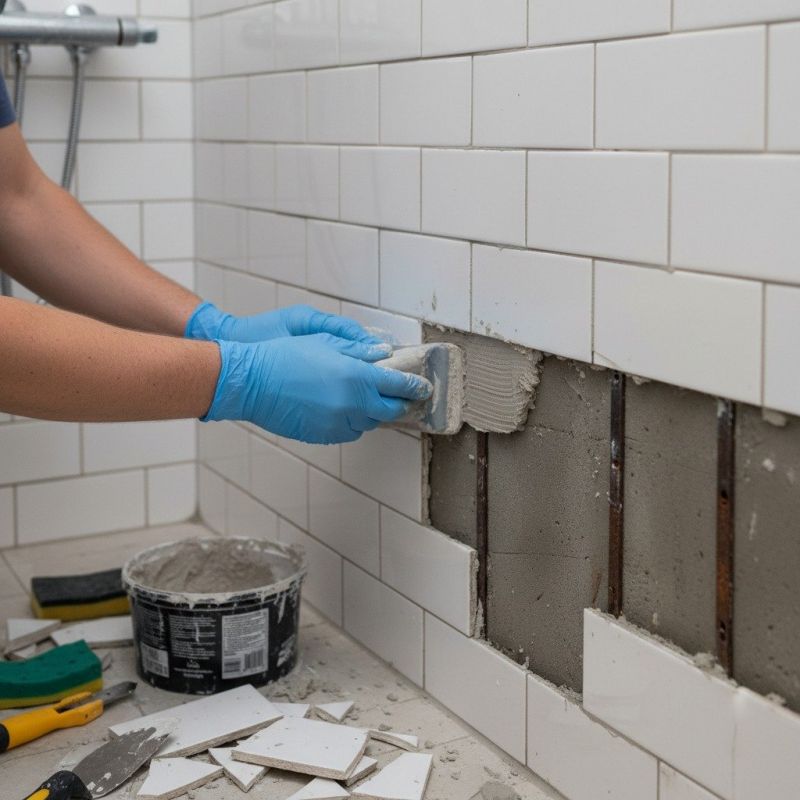
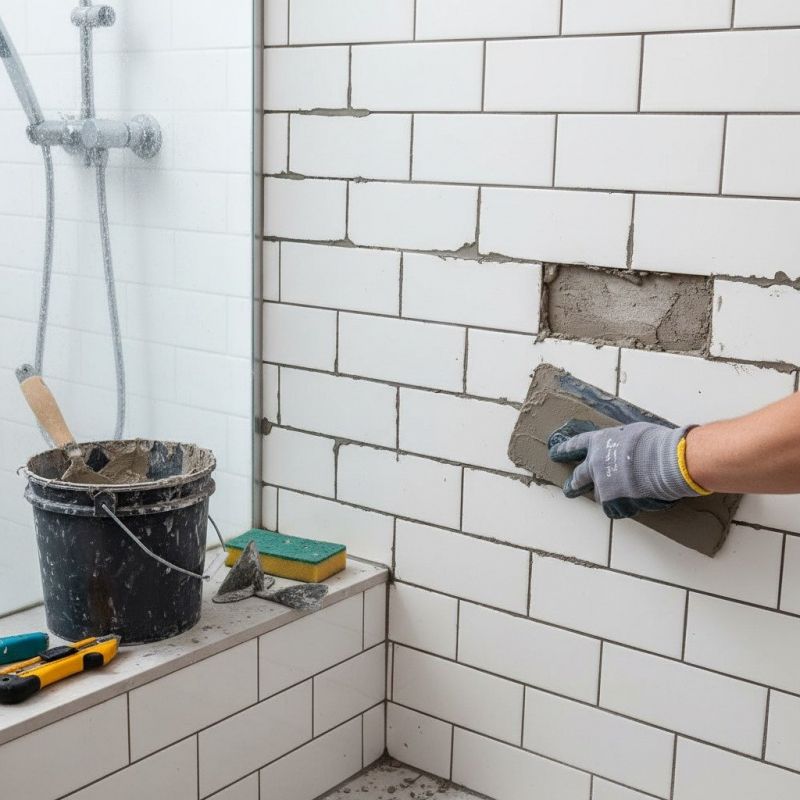
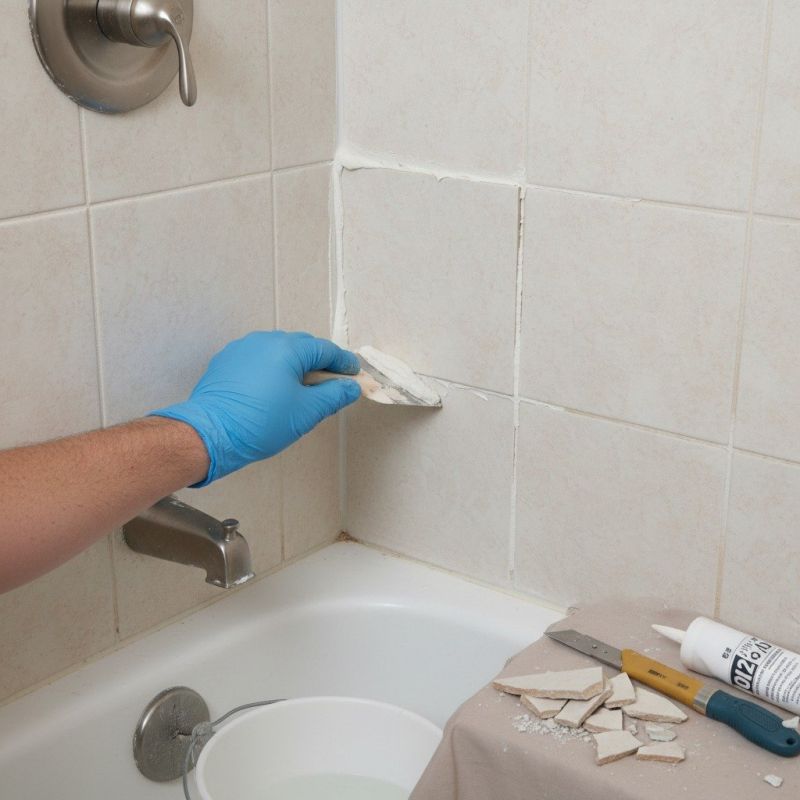
Shower grout repair is a common service sought by property owners experiencing issues with cracked, stained, or deteriorating grout lines in their showers. Over time, grout can become damaged due to regular use, moisture exposure, or improper sealing, leading to water seepage, mold growth, and aesthetic concerns. Local contractors specializing in shower repair services can assess the condition of existing grout, remove damaged sections, and apply new grout to restore both the appearance and functionality of the shower area. These professionals understand the importance of proper application techniques to ensure long-lasting results and help maintain a clean and safe bathroom environment.
Property owners looking for shower grout repair often turn to local service providers who have experience working with various tile and grout types. The work typically involves carefully removing compromised grout, cleaning the area thoroughly, and applying fresh grout that matches the existing design. Skilled contractors can also recommend suitable sealing options to prevent future damage. Connecting with local pros ensures that those needing grout repair receive tailored solutions that suit their specific shower setup, with the goal of improving durability and appearance without the need for complete tile replacement.
This guide provides helpful information to understand the process of shower grout repair and what to consider when hiring local service providers. It assists in comparing nearby contractors and understanding the basics of the work involved. The goal is to help visitors make informed decisions and connect with trusted local pros for their project needs.